Lesson 5: Changing Your Computer's Settings
/en/macosxlion/the-dock-launchpad-and-mission-control/content/
Changing Your computer's settings
At some point, you'll probably need to change some of the settings on your computer. OS X Lion makes this as easy as possible by putting almost all of the settings in one place: the System Preferences window. In this lesson, we'll give an overview of the System Preferences window and show you how to create multiple accounts on your computer.
To open System Preferences:
- Click the Apple icon in the top-left corner of the screen, then select System Preferences.
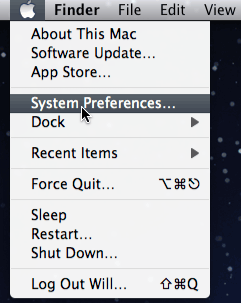 Going to System Preferences
 - The System Preferences window will open. You can then select the desired category to change settings.
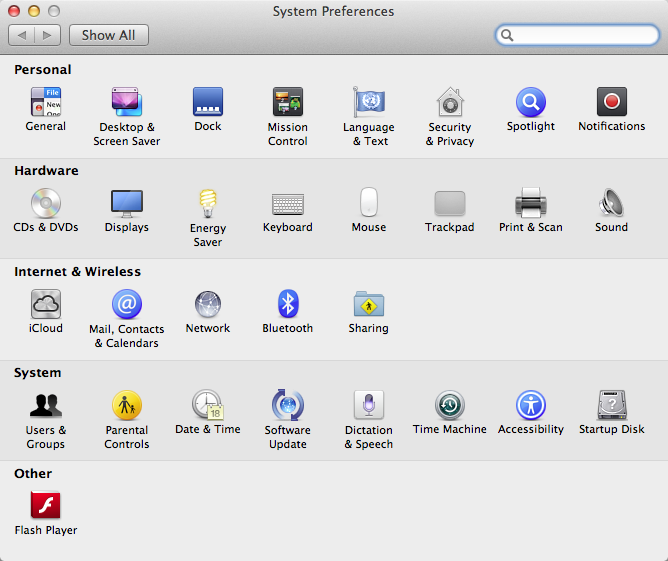
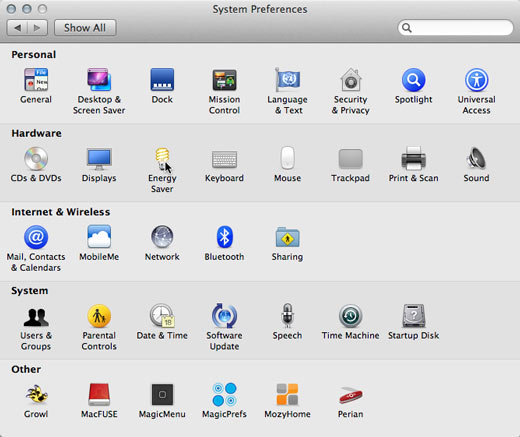 The System Preferences window
You can also open System Preferences from the Dock or Launchpad.
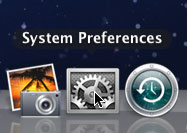 Opening System Preferences from the Dock
Click the buttons in the interactive below to learn about some of the settings you can change in System Preferences.
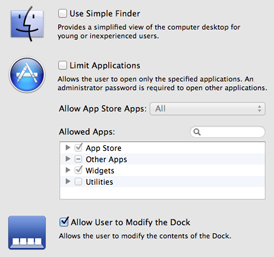
Parental Controls
Here you can set restrictions on which websites your children can visit, set time limits, and more. You will first need to create a Managed account (in the Users & Group settings) in order to use parental controls.
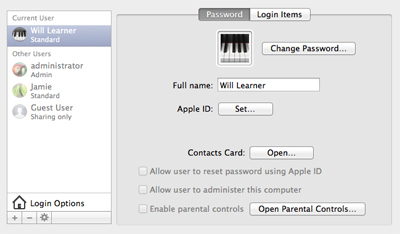
Users & Groups
The Users & Groups settings allow you to manage all of the user accounts on your computer, as well as create new accounts.
In older versions of OS X (pre-Lion), these options are found in the Accounts settings.
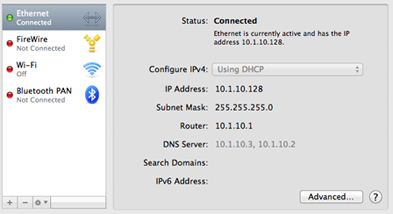
Network
This is where you'll go to change your internet settings or set up a new internet connection. Many of the settings are more advanced, so you should avoid changing them unless you are experienced with computers.
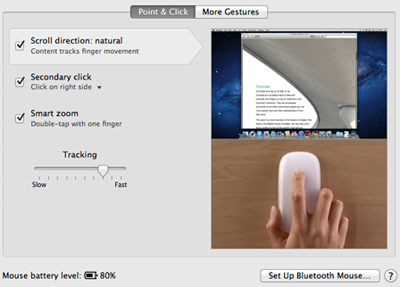
Mouse
Here you can enable right-clicking or turn natural scrolling on or off. If you are using a trackpad or Magic Mouse, you can also control which multi-touch gestures are enabled.
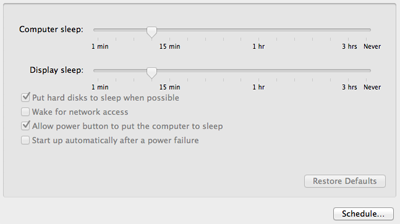
Energy Saver
With Energy Saver, you can tell your Mac to automatically go to sleep after a specified amount of time. This can help you save electricity or improve your laptop's battery life.
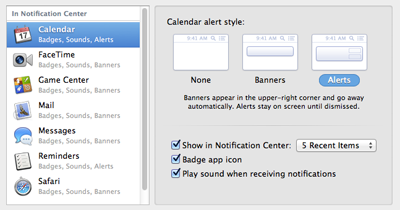
Notifications
Here you can tell OS X which apps will receive alerts in the Notification Center. You can also adjust the alert settings to play a sound or show a banner when an alert is received.
Notifications were introduced in OS X Mountain Lion, and are not available in earlier versions of OS X.
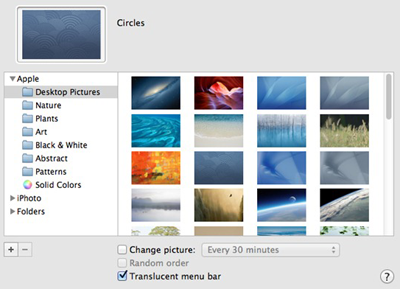
Desktop & Screen Saver
You can go here to change your desktop background and screen saver. You can also set up a hot corner that will trigger the screen saver.
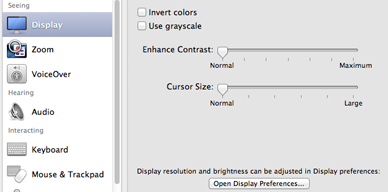
Accessibility
Accessibility (previously known as Universal Access) includes many different tools to make OS X more accessible to users with disabilities. These tools include VoiceOver, which allows you to have full control of your computer without seeing the screen. Also, for users who have difficulty using a mouse, the keyboard can be set to control the mouse pointer.
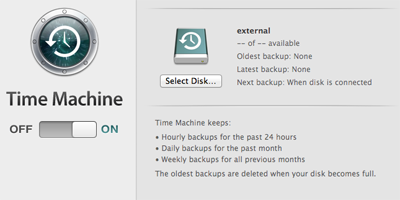
Time Machine
Time Machine can automatically back up your files and settings in case something happens to your computer. You will generally need to have an external hard drive in order to use Time Machine.
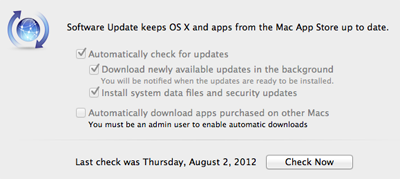
App Store
The App Store can automatically check for OS X and app updates. You can also go here to automatically download apps purchased on another Mac or to see when the last update occurred.
Other Preferences
Some apps will automatically install preference panes at the bottom of the System Preferences window. You can use these to adjust various settings for those apps.
Creating additional accounts
 Multiple accounts
If multiple people will be using your computer, you'll need to decide whether everyone will share an account, or whether each person will have his or her own account. Having a separate account for each person has some advantages. For example, everyone will have their own desktops they can personalize. In addition, parents will be able to set parental controls for each child's account.
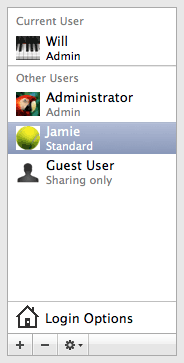
Administrator, Standard, and Managed accounts
Before you start making new user accounts, it's important to understand the different types:
- Administrator: Administrator accounts are special accounts that are used for making changes to system settings or managing other people's accounts. They have full access to every setting on the computer. Every computer will have at least one Administrator account, and if you're the owner you should already have a password for this account.
- Standard: Standard accounts are the basic accounts you use for normal everyday tasks. As a Standard user, you can do just about anything you would need to do, such as running software or personalizing your desktop.
- Managed with parental controls: Managed accounts are the only type that can have parental controls. You can create a Managed account for each child, then go to the Parental Controls settings in your System Preferences to set website restrictions, time limits, and more. You can also convert a Standard account into a Managed account by enabling parental controls.
Generally, it's safer to be logged in to a Standard account instead of an Administrator account. If you're logged in as an Administrator, it may actually make it easier for an unauthorized user to make changes to your computer. Therefore, you may want to create a Standard account for yourself, even if you're not sharing the computer with anyone. You'll still be able to make Administrator-level changes; you'll just need to provide your Administrator password when making the changes.
To create a new account:
- From System Preferences, select Users & Groups (if you are using an earlier version of OS X, select the Accounts category).
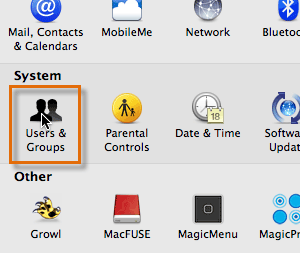 Selecting the Users & Groups settings
 - Locate the Lock icon in the lower-left corner of the window. It will either be open or closed.
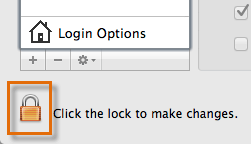 The Lock icon
 - If the Lock icon is closed, you will need to click it and type your password in order to make changes. Click Unlock.
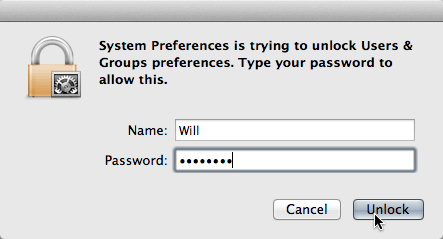 Typing a password to unlock the settings
 - Click the button with the plus sign (+) to begin creating a new account.
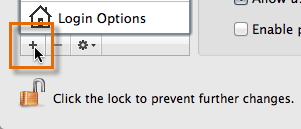 Creating a new account
 - Choose the account type from the drop-down menu.
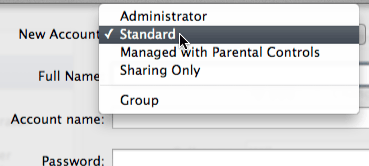 Selecting an account type
 - Type a full name and password for the new account (the Account name will appear automatically). In the Verify field, type the password again. If you want, you can type a password hint to help you remember it. When you are done, click Create User.
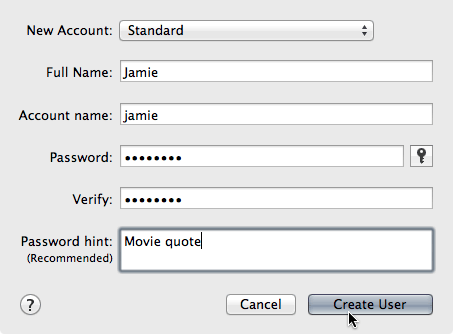 Typing the name, password, and hint for the new account
 - If you want, you can click on the account picture and select a different picture.
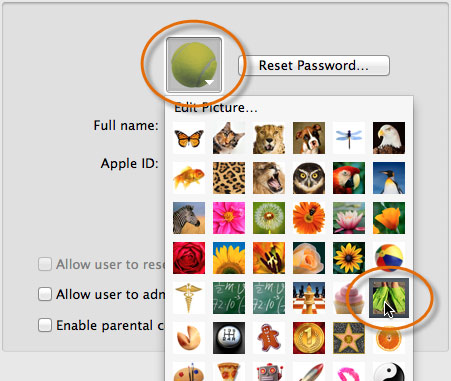 Selecting a new account picture
To switch to a different account:
- Click the Apple icon and select Log Out.
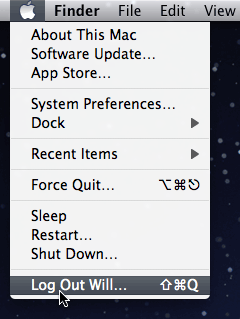 Logging out
 - You will see an icon for each account. Select the account you want to use.
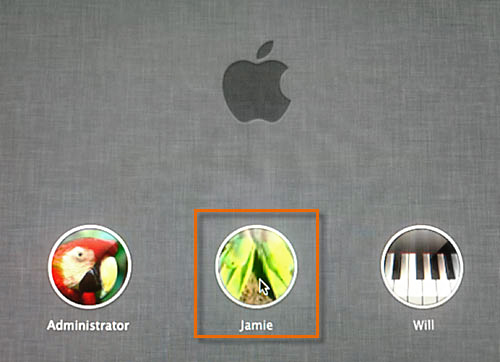 Selecting an account
 - Type the account password and press the Return key (or Enter key) to log in to the account.
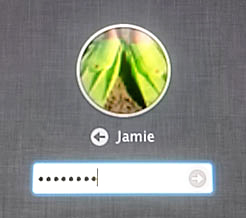 Typing the account password


