When you're working on a multi-page document, there may be times when you want to have more control over how exactly the text flows. Breaks can be helpful in these cases. There are many types of breaks to choose from depending on what you need, including page breaks, section breaks, and column breaks.
Watch the video below to learn more about using breaks in Word.
To insert a page break:
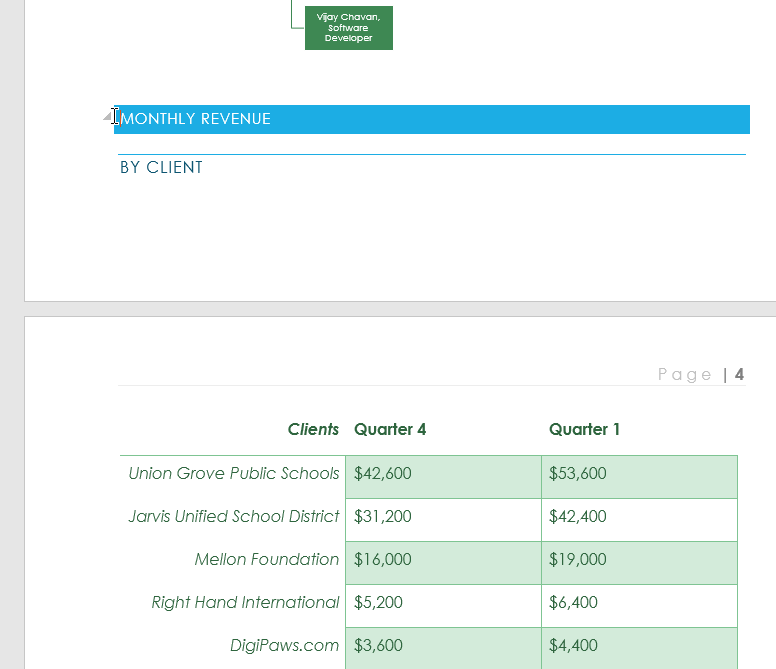
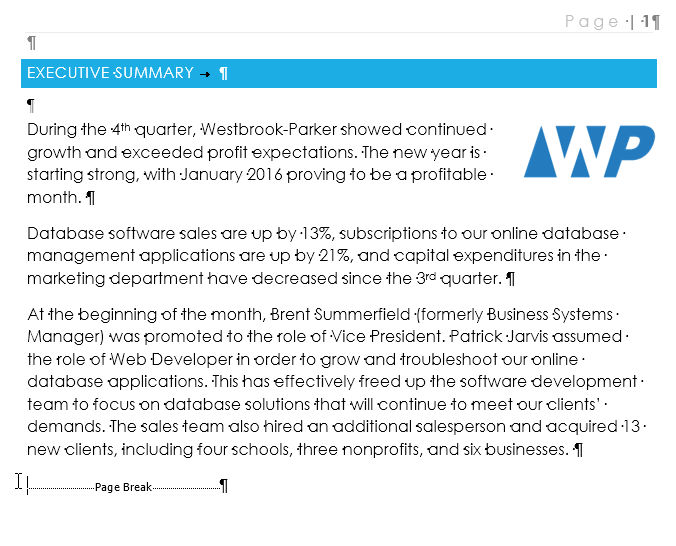
In our example, the section headers on page three (Monthly Revenue and By Client) are separated from the table on the page below. And while we could just press Enter until that text reaches the top of page four, it could easily be shifted around if we added or deleted something in another part of the document. Instead, we'll insert a page break.
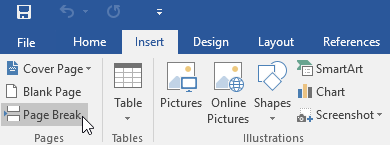
Place the insertion point where you want to create the page break. In our example, we'll place it at the beginning of our headings.
On the Insert tab, click the Page Break command. You can also press Ctrl+Enter on your keyboard.
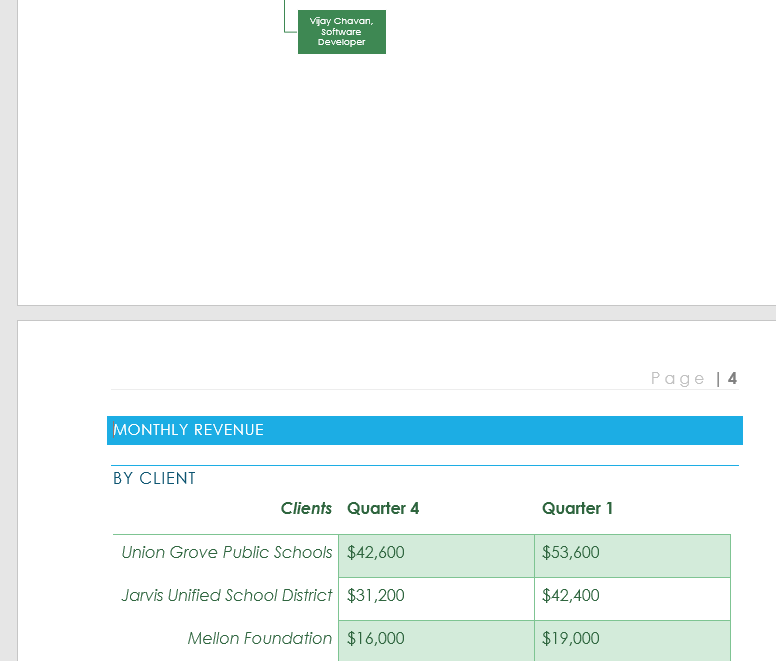
The page break will be inserted into the document, and the text will move to the next page.
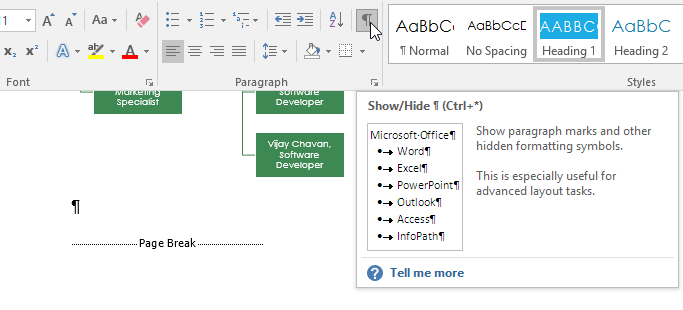
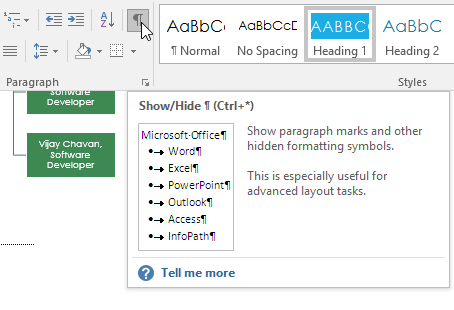
By default, breaks are invisible. If you want to see the breaks in your document, click the Show/Hide command on the Home tab.
Section breaks
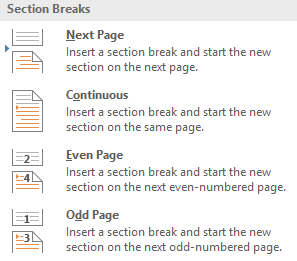
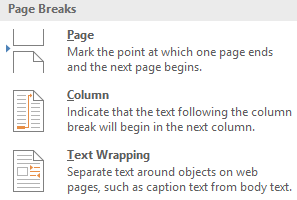
Section breaks create a barrier between different parts of a document, allowing you to format each section independently. For example, you may want one section to have two columns without adding columns to the entire document. Word offers several types of section breaks.
Next Page: This option inserts a section break and moves text after the break to the next page of the document.
Continuous: This option inserts a section break and allows you to continue working on the same page.
Even Page and Odd Page: These options add a section break and move the text after the break to the next even or odd page. These options may be useful when you need to begin a new section on an even or odd page (like with a new chapter of a book).
To insert a section break:
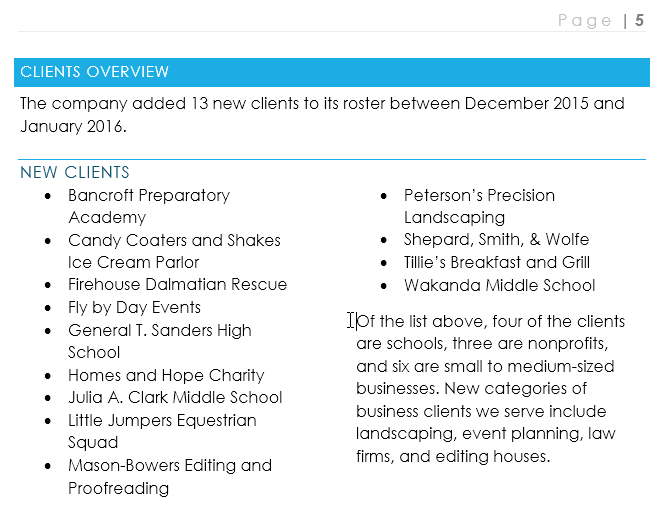
In our example, we'll add a section break to separate a paragraph from a two-column list.
Place the insertion point where you want to create the break. In our example, we'll place it at the beginning of the paragraph we want to separate from two-column formatting.
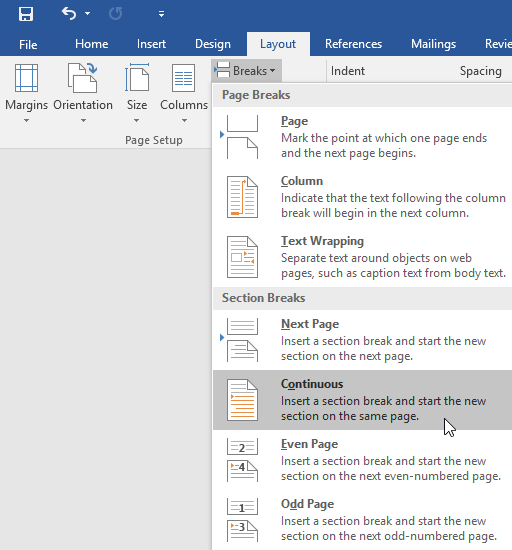
On the Page Layout tab, click the Breaks command, then select the desired section break from the drop-down menu. In our example, we'll select Continuous so our paragraph remains on the same page as the columns.
A section break will appear in the document.
The text before and after the section break can now be formatted separately. In our example, we'll apply one-column formatting to the paragraph.
The formatting will be applied to the current section of the document. In our example, the text above the section break uses two-column formatting, while the paragraph below the break uses one-column formatting.
Other types of breaks
When you want to format the appearance of columns or modify text wrapping around an image, Word offers additional break options that can help:
Column: When creating multiple columns, you can apply a column break to balance the appearance of the columns. Any text following the column break will begin in the next column. To learn more about how to create columns in your document, review our lesson on Columns.
Text wrapping: When text has been wrapped around an image or object, you can use a text-wrapping break to end the wrapping and begin typing on the line below the image. Review our lesson on Pictures and Text Wrapping to learn more.
To delete a break:
By default, breaks are hidden. If you want to delete a break, you'll first need to show the breaks in your document.
On the Home tab, click the Show/Hide command.
Locate the break you want to delete, then place the insertion point at the beginning of the break.
Press the Delete key. The break will be deleted from the document.
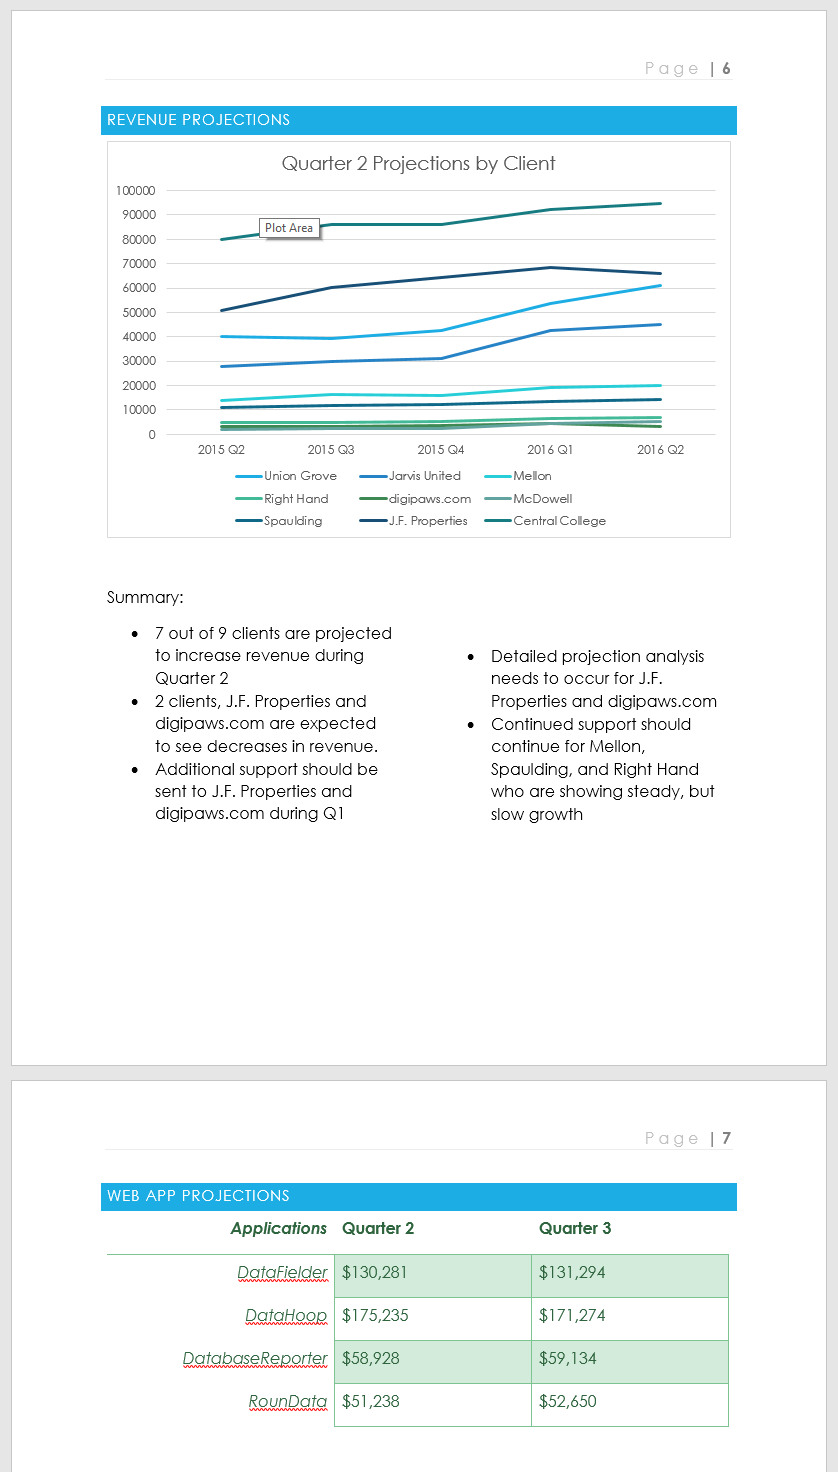
Scroll to the Revenue Projections section near the end of the document.
Remove the page break after the Quarter 2 Projections by Client chart.
Place your cursor at the beginning of the header Web App Projections.
Insert a Next Page section break.
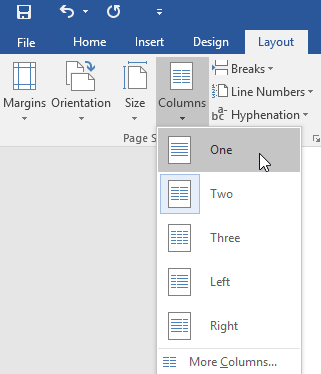
In the Page Setup group on the Layout tab, click the Columns drop-down menu and choose One. This formats the page back to one column and should allow the Web App Projections header and the table below it to span across the page. You will learn more about columns in our next lesson.
When you're finished, the last two pages should look something like this: