
Access 2010 -
Modifying Tables

Access 2010
Modifying Tables

search
menu
/en/access2010/advanced-report-options/content/
After working with your database, you might find that you need to make some changes to the tables that store your data. Access makes it easy to modify your tables to suit your database's needs.
In this lesson, you'll learn how to create and rearrange table fields. You'll also learn how to ensure that your table data is correctly and consistently formatted by setting validation rules, character limits, and data types in your fields. Finally, we will direct you toward additional options for performing simple math functions within your tables.
We will be showing you how to modify tables with examples from our sample bakery database. If you would like to follow along, download our example and use it to follow the procedures demonstrated in this lesson.
In addition to making basic modifications to your tables, like adding and moving fields, you can make more advanced modifications that let you set rules for your data. All of these changes can help make your tables even more useful.
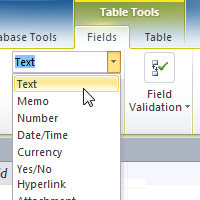
Access makes it easy to rearrange existing fields and add new ones. When you add a new field, you can even set the data type, which dictates which type of data can be entered into that field.
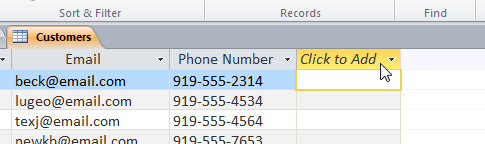 Preparing to add a new field
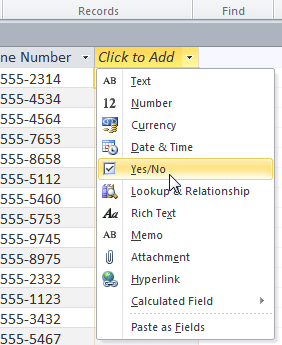 Selecting a data type
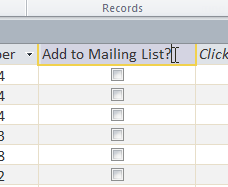 Naming the new field
 .
.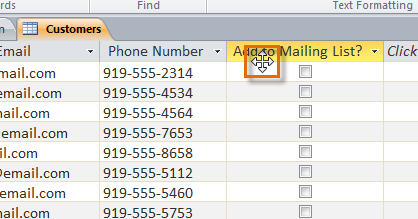 Hovering the mouse over the field to be moved
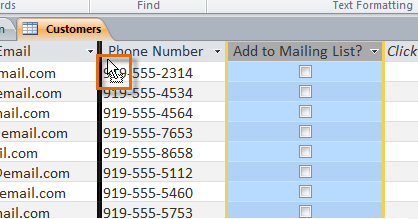 Dragging the field to its new location
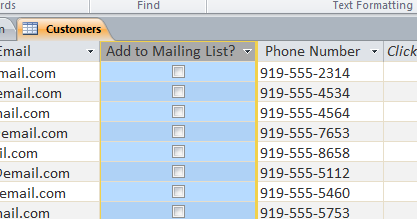 The moved field
On the previous page, you learned about setting the data type for new fields. When you set field data type, you are really setting a rule for that field. Databases often include rules because they are a way of guaranteeing that users enter the correct type of data.
Why is this important? Computers aren't as smart as humans about certain things. While you might recognize that two and 2 or NC and North Carolina are the same thing, Access will not, and therefore it won't group these things together. Making sure to enter your data in a standard format will help you better organize, count, and understand it.
Rules can also determine the options you have for working with that data. For example, you can only do math with data entered in number or currency fields, and you can only format text entered in memo fields.
There are three main types of rules you can set for a field: data type, character limit, and validation rules.
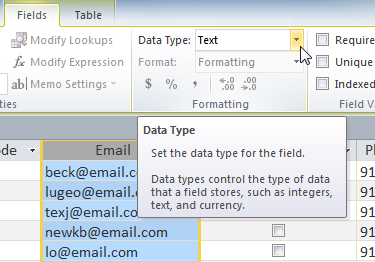 The Data Type drop-down arrow
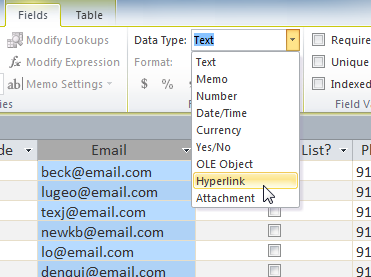 Selecting a new field data type
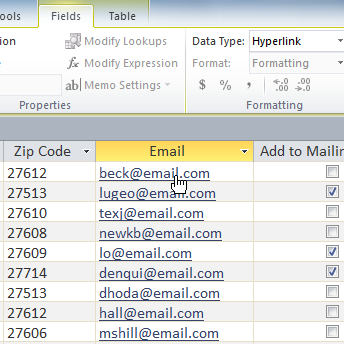 All of the entries in this field are now formatted as clickable hyperlinks
You shouldn't change field data type unless you are certain your field data is in the correct format for the new data type. Changing a field containing only text to the Number type, for instance, will delete all of your field data. This process is often irreversible.
Setting the character limit for a field sets a rule about how many characters—letters, numbers, punctuation, and even spaces—can be entered into that field. This can be useful to keep the data in your records concise or to force users to enter data a certain way.
For instance, in the example below, the user is entering records that include addresses. If you set the character limit in the state field as 2, the user can only enter 2 characters of information. This means he must enter postal abbreviations for the states instead of their full names—here, NC instead of North Carolina. Note that you can only set a character limit for fields defined as text.
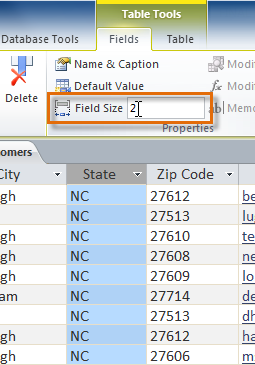 Setting a 2-character limit on the State field
A validation rule is a rule that dictates what information can be entered into a field. When a validation rule is in place, it is impossible for a user to enter data that violates the rule. For example, if we were asking users to input a state name into a table with contact information, we might create a rule that limits the valid responses to U.S. state postal codes. This would prevent users from typing something that wasn't actually a real state postal code.
In the example below, we will apply this rule to our Customers table. It's a fairly simple validation rule—we'll just name all of the valid responses a user could enter, which will mean users can't type anything else into the record. However, it's possible to create validation rules that are much more complex. For detailed information on how to write validation rules, review this official Microsoft office tutorial on creating validation rules.
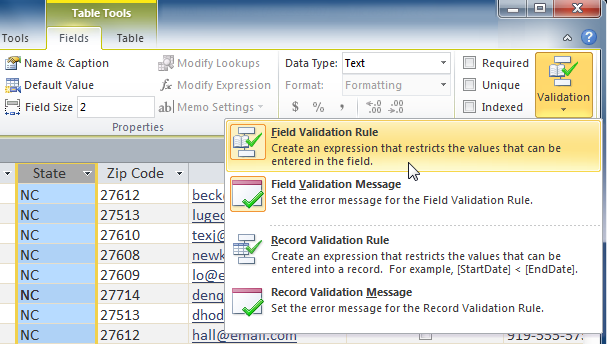 The Field Validation Rule command
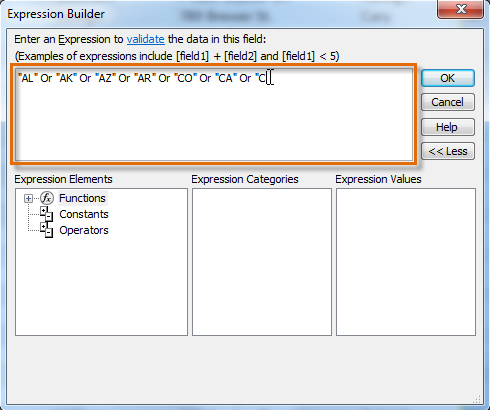 Typing our validation rule, which will contain every state postal code, each separated by the word "Or"
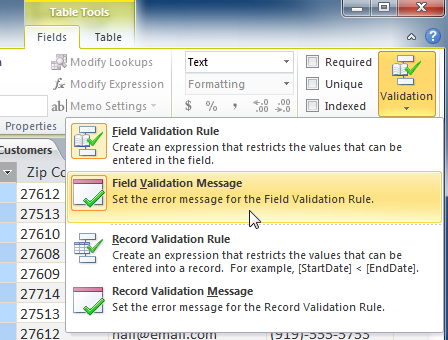 The Field Validation Message command
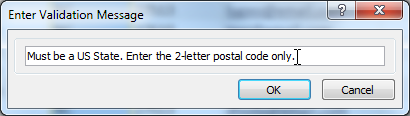 Typing the phrase that will appear as an error message when someone attempts to break the validation rule
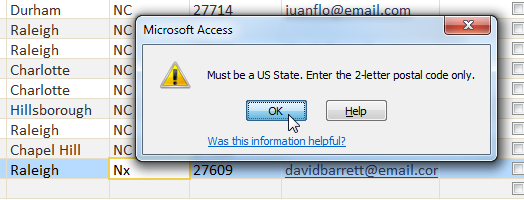 Data has been entered that violates the validation rule
Simple validation rules can be written exactly like query criteria. The only difference is that query criteria search for data, while an identical validation rule either permits or rejects data. To see examples of query criteria, review our Query Criteria Quick Reference Guide.
Adding calculated fields and totals rows to your table lets you perform calculations using your table data. A calculated field calculates data within one record, while a totals row performs a calculation on an entire field of data. Whenever you see a subtotal for one record, you are looking at a calculated field. Likewise, a grand total at the bottom of a table is really a totals row.
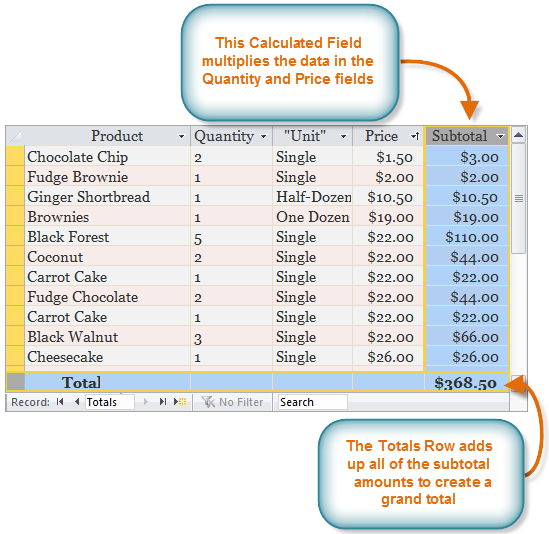 Example of a calculated field and totals row in a table of orders
To learn how to create calculated fields and totals rows, review our mini-lesson located in our Extras section on How to create calculated fields and totals rows in tables.
/en/access2010/creating-forms/content/