
Word Tips -
How to Create Forms in Word

Word Tips
How to Create Forms in Word

search
menu
/en/word-tips/changing-your-default-settings-in-word/content/
If you've ever used Microsoft Word, you've probably spent a lot of time customizing different options to get your document to look exactly the way you want. But have you ever created a document for other people to use?
For example, let's say you're organizing a field trip and want everyone to send in their permission forms electronically. To simplify the process, you could create a form in Microsoft Word. A form allows you to create placeholders for different types of information, such as text, dates, yes-no questions, and so on. This makes it easier for everyone to know what type of information to include, and it also helps ensure all of the information is formatted the same way.
You can also download our example file if you'd like to follow along.
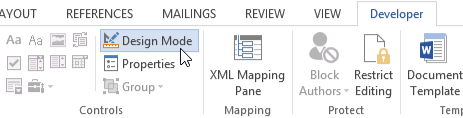
Before you create form elements in a document, you'll need to activate the Developer tab on the Ribbon. To do this, click File > Options to access the Word Options dialog box. Select Customize Ribbon, then click the check box for the Developer tab.
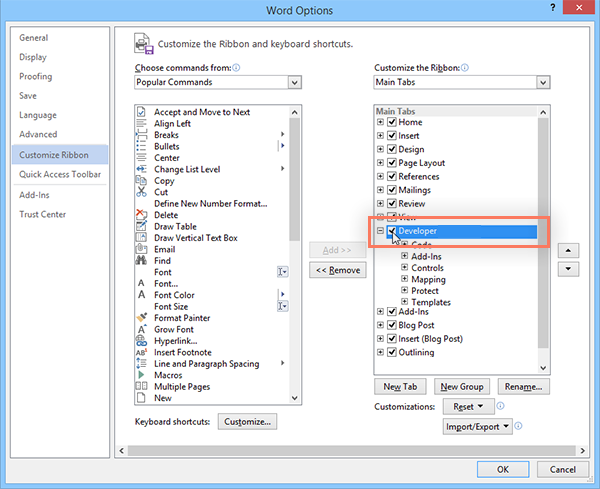
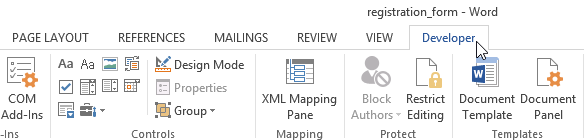
The Developer tab will appear on the Ribbon.
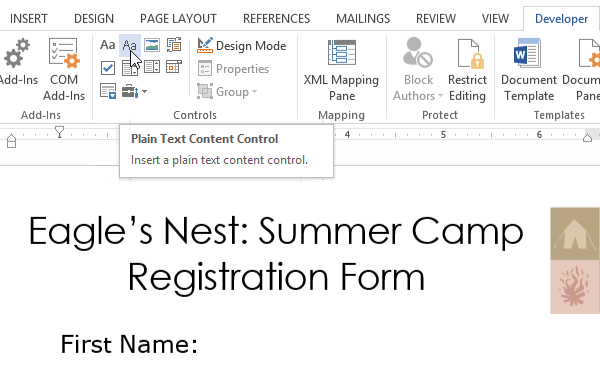
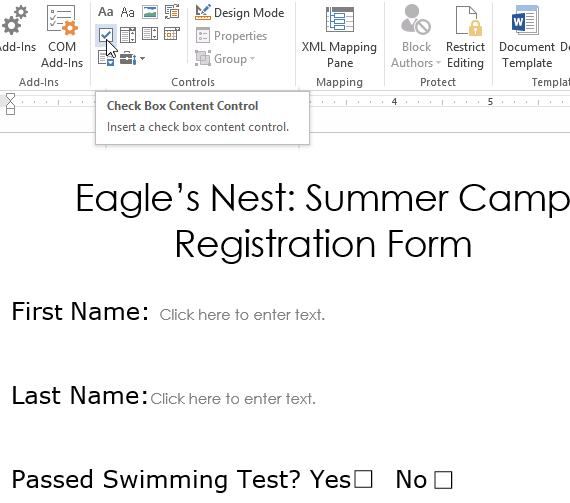
Now you're ready to add the different parts of the form, which Word calls content control fields. To add a content control field, place your cursor in the desired location, then choose a field from the Controls group on the Developer tab. You can hover your mouse over the fields to see the different options. In this example, we're adding a text field so users can type their first names.
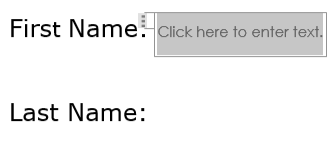
The content control field will appear in the document.
You can add several types of fields. For example, you can add check boxes for a yes-no question:
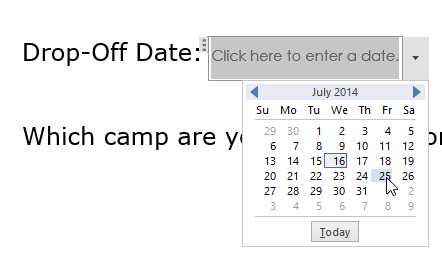
Or even a date selection field:
Once you've added all of your fields to the document, you're ready to send out the form for others to use!
If you want even more control over the way your form looks, you can turn on Design Mode from the Controls group on the Developer tab.
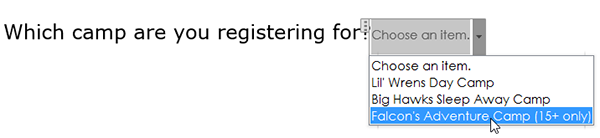
Then you can modify the properties for each content control field, including the text that will appear in each field. If you're willing to spend a little more time customizing each field, you can build a pretty robust form. For example, you could create your own custom drop-down list, as in the example below:
Those are the basics of creating your own custom form in Microsoft Word. If you want to learn more, check out this article from Microsoft on how to Create a Fillable Form.
/en/word-tips/using-the-format-painter-in-powerpoint-and-word/content/